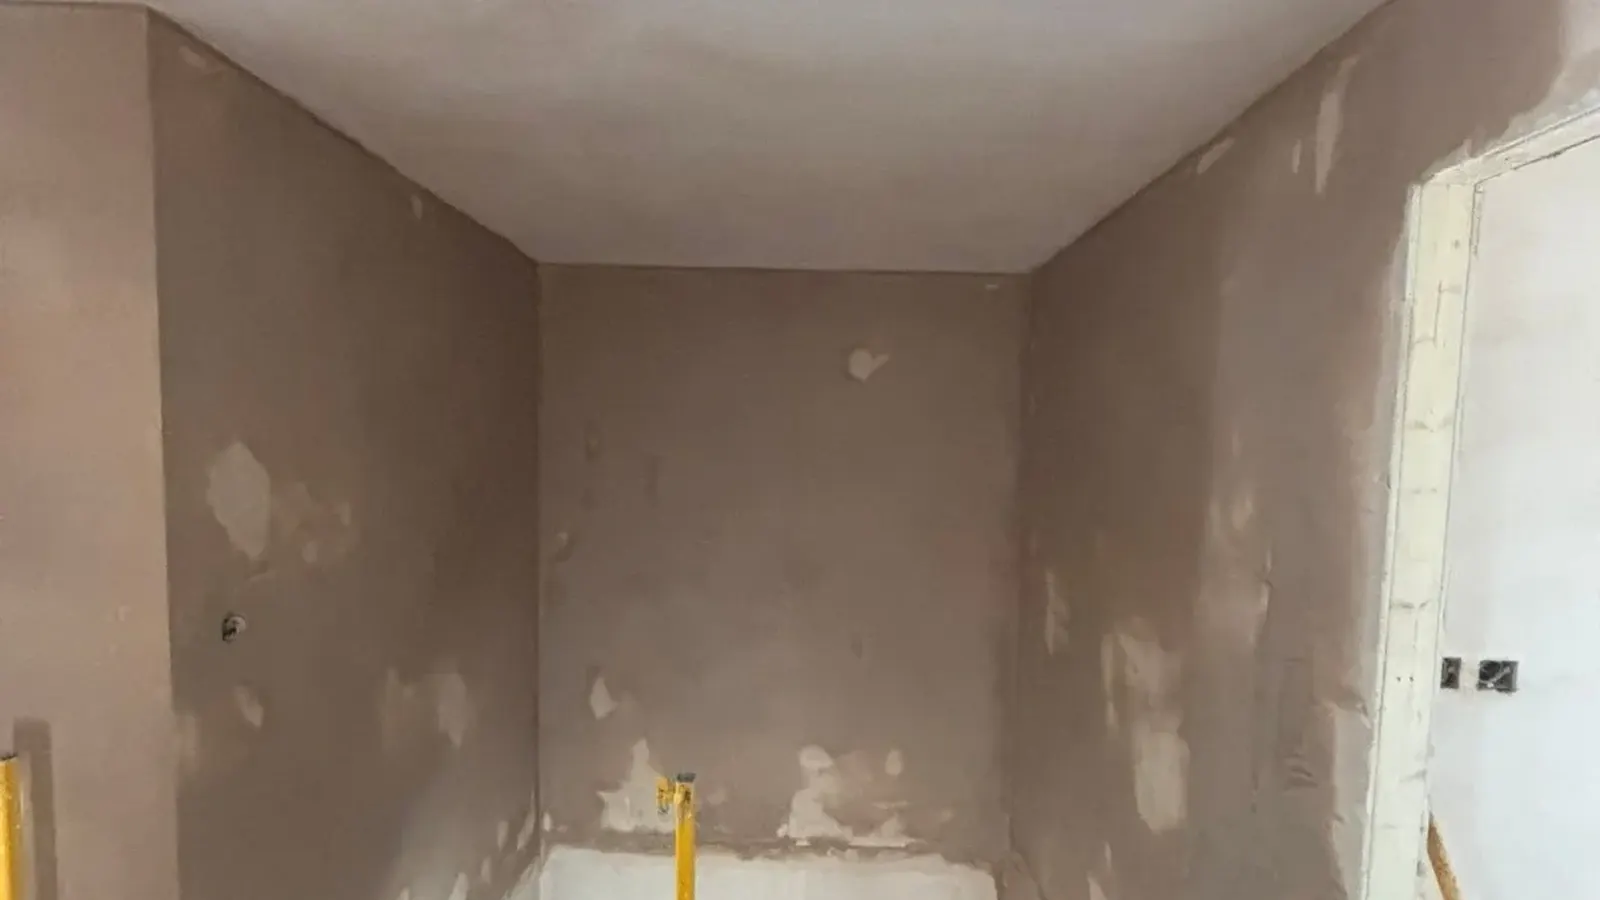
If you’ve found black mould spreading across an outside wall, usually in a corner, behind a wardrobe or above a window, the most likely cause is condensation. It is rarely the end of the story, though, and the plaster behind the mould tells you far more than the mould does.
We see a lot of this in Brislington. The older terraces and semis are full of cold external walls: solid brick in many of the older houses, little or no insulation, and rooms that are heated hard for a few hours and then left. Warm, damp air hits a cold wall, turns to water, and mould follows.
Here is how to work out what you’ve got.
Is it condensation?
Condensation mould has a recognisable pattern:
- It sits on external walls, especially north-facing ones, and in corners where air barely moves.
- It shows up behind furniture, inside fitted wardrobes and around window reveals.
- It gets worse in autumn and winter and eases off in summer.
- It’s on the surface. Wipe it and the wall underneath is sound and dry.
- Bathrooms, kitchens and bedrooms are the usual places, because that’s where the moisture is made.
A household of four puts a surprising amount of water into the air every day through breathing, cooking, showering and drying washing. In a cold room that water has to go somewhere.
Signs it’s something else
Condensation is the most common cause, but not the only one. Be suspicious if:
- The patch is damp to the touch even on a dry, mild day.
- It appears after rain rather than after cold nights. That points to water getting in from outside: a leaking gutter or downpipe, failed pointing, or cracked render.
- There’s a tide mark or white, fluffy salt deposit low on the wall. That suggests rising damp, which behaves quite differently.
- The wall is on the other side of a bathroom, kitchen or radiator pipework. A slow leak can look a lot like condensation.
A damp meter can mislead you here. It reads moisture on the surface and in the plaster, but it can’t tell you where the water came from. Where the damp is, when it appears and what the outside of the wall looks like tell you more.
Step one: wipe it and ventilate
Do this first whatever the cause.
- Clean the mould off. Use a proper mould-removal spray or wash and follow the instructions on the bottle. Wipe with a damp cloth rather than dry-brushing, which throws spores into the air. Let the wall dry.
- Cut the moisture at source. Use extractor fans or open a window when cooking and showering, and keep the bathroom door shut while you do. Dry washing outdoors where you can, or in a room with a window open, rather than on radiators.
- Let air reach the wall. Pull wardrobes and beds a few centimetres off outside walls, and don’t pack cupboards on external walls tight.
- Heat steadily. A little background warmth all day is better than short blasts of heat. Cold walls cause condensation, and heating the room in bursts swings the air between warm and wet.
If the mould comes back within a few weeks of cleaning, the room still has too much moisture or the wall is too cold. Repainting over it with anti-mould paint will hide the problem for a while but won’t solve it.
Step two: the tap test
Before you do anything else, check the plaster. It takes a minute.
Tap the wall with your knuckle, or the handle of a screwdriver, starting on a part you know is sound and working towards the affected area. Listen to the sound.
- Solid, dull and consistent: the plaster is bonded to the wall. Mould on a sound surface is a ventilation problem.
- Hollow, drummy or crackly: the plaster has come away from the wall behind it. It may look fine, but it’s no longer attached.
- Crumbling, sandy or soft when you press it with a thumbnail or the screwdriver tip: the plaster has been wet for a long time and is breaking down.
Mark any hollow patches lightly in pencil so you can see how far they spread. Corner cracks matter too. A crack running up an internal corner on an outside wall is often just movement, but if it sits alongside hollow sounds or mould, water or cold bridging may be involved.
Check the outside before the frosts
This is the one thing I’d do this month. Walk round the house and look at the outside of the wall that has the problem:
- Cracks in the render, especially at corners, around windows and above lintels
- Patches of render that sound hollow or have blown away
- Gutters overflowing or downpipes leaking onto the wall
- Crumbling pointing on bare brick
Water that gets into a crack in autumn can freeze in winter, expand and make the crack worse. Frost damage then does in a few weeks what rain alone would take years to do. Sealing and repairing small cracks now is cheap compared with replacing blown render later. Outside work needs milder, dry days, so it may have to wait for the weather. Spotting the problem before winter lets you plan for it.
If the outside is the cause, fixing the plaster inside without dealing with it just means you’ll be doing the plaster again.
When plaster needs repair
Repair is needed when:
- It sounds hollow over an area bigger than a hand, or keeps spreading
- It’s crumbling, powdery or flaking off
- There are salt deposits or staining that return after cleaning
- Mould has been on it for a long time and the surface has broken down
Small hollow patches can often be cut out and patched. Larger areas, or a wall where the plaster is loose in many places, are usually better stripped back to the brick and replastered, because patching onto plaster that’s failing around it won’t last.
The catch is the one I mentioned earlier. New plaster won’t stop condensation. If the wall is cold and the room is damp, fresh plaster will grow mould just the same, only later. A good repair deals with the cause first, whether that’s a leaking gutter, cracked render or poor ventilation, and then replaces the plaster that has failed.
Winter is a good time for this indoors. Plastering and skimming carry on whatever the weather, while outside work waits for milder days. New plaster dries more slowly in cold, damp weather, so keep the room gently warm and open a window a little rather than blasting a heater at it, which can make it crack. Leave the skim until it’s an even pale pink all over before painting, then use a watered-down mist coat first.
What we do
Kyran Dyer founded KD Plastering & Rendering in 2014, and I’m NVQ Level 3 qualified in plastering. We’re based in Hanham, so Brislington is on our doorstep. When someone calls about mould and hollow plaster, we start by working out what’s causing it, because repairing the wrong thing is the expensive mistake. We offer a free site visit and a fixed written quote within 48 hours, and our plastering work carries a 5-year workmanship warranty.
If the tap test has turned up hollow or crumbling patches, you can read more about how we approach plastering repairs in Bristol, including what’s involved when a wall needs cutting back and making good.
If you’re not sure whether what you’ve got is condensation or something worse, get in touch and we’ll come and look.
